f you mention “calisthenics” to most people, they picture 1950s PE classes, jumping jacks and toe touches. If you mention it to the internet generation, they picture a guy doing a one-armed handstand on a cliff edge.
The reality is somewhere in the middle.
Calisthenics (from the Greek kallos for beauty and sthenos for strength) is simply Mastering Your Own Bodyweight.
It is the art of using gravity as your resistance. No machines, no dumbbells, no cables. Just you and the laws of physics. It is the oldest form of training in existence, and it remains one of the most effective.
But the best part? You can do it anywhere.
Here is the ultimate guide to starting your calisthenics journey, whether you are in your living room or at the local park.
The Core Concept: You Are the Machine
In a commercial gym, if you want to make an exercise harder, you move a pin down the weight stack. In calisthenics, you don’t add weight; you change leverage.
-
Can’t do a push-up? Put your hands on a bench (incline). You are now lifting less of your body weight.
-
Push-ups too easy? Put your feet on a bench (decline). You are now lifting more of your body weight.
This is called Progression, and it’s the secret sauce. You never “outgrow” calisthenics; you just find a harder angle.
Scenario A: The “Living Room” Workout
Best for: Privacy, bad weather, zero commute time.
You don’t need a sprawling home gym to build serious strength. You just need about six feet of floor space and some sturdy furniture.
The Home Setup
You likely already have everything you need:
-
Floor Space: For squats, lunges, and floor work.
-
A Sturdy Chair/Couch: For dips and elevated push-ups.
-
A Doorframe: (Optional) For pulling exercises, or a cheap doorway pull-up bar ($20 online).
The “No-Excuses” Home Circuit
Perform 3 rounds. Rest 60 seconds between rounds.
1. The Living Room Squat
-
The Move: Stand in front of your couch. Sit back until your butt taps the cushion, then immediately stand back up.
-
The Hack: Don’t actually sit and relax. Just “kiss” the cushion and drive up. This ensures you are hitting the right depth every time.
2. The Kitchen Counter Push-Up
-
The Move: Place hands on the edge of a sturdy counter. Step back. Lower chest to counter, push back up.
-
The Hack: As you get stronger, move to a lower surface (like the arm of a sofa) and eventually the floor.
3. The Doorframe Row (The “Pull” Solution)
-
The Move: Stand in an open doorway. Grip the door jambs (the frame) with your fingers. Place your feet close to the door. Lean back until your arms are straight. Pull your chest through the doorframe.
-
The Hack: The closer your feet are to the door, the harder it is.
4. The Chair Dip
-
The Move: Sit on a sturdy chair. Place hands on the edge next to your hips. Slide your butt off the chair, supporting your weight with your arms. Lower down, push up.
-
The Hack: Keep your knees bent to make it easier. Straighten legs to make it harder.
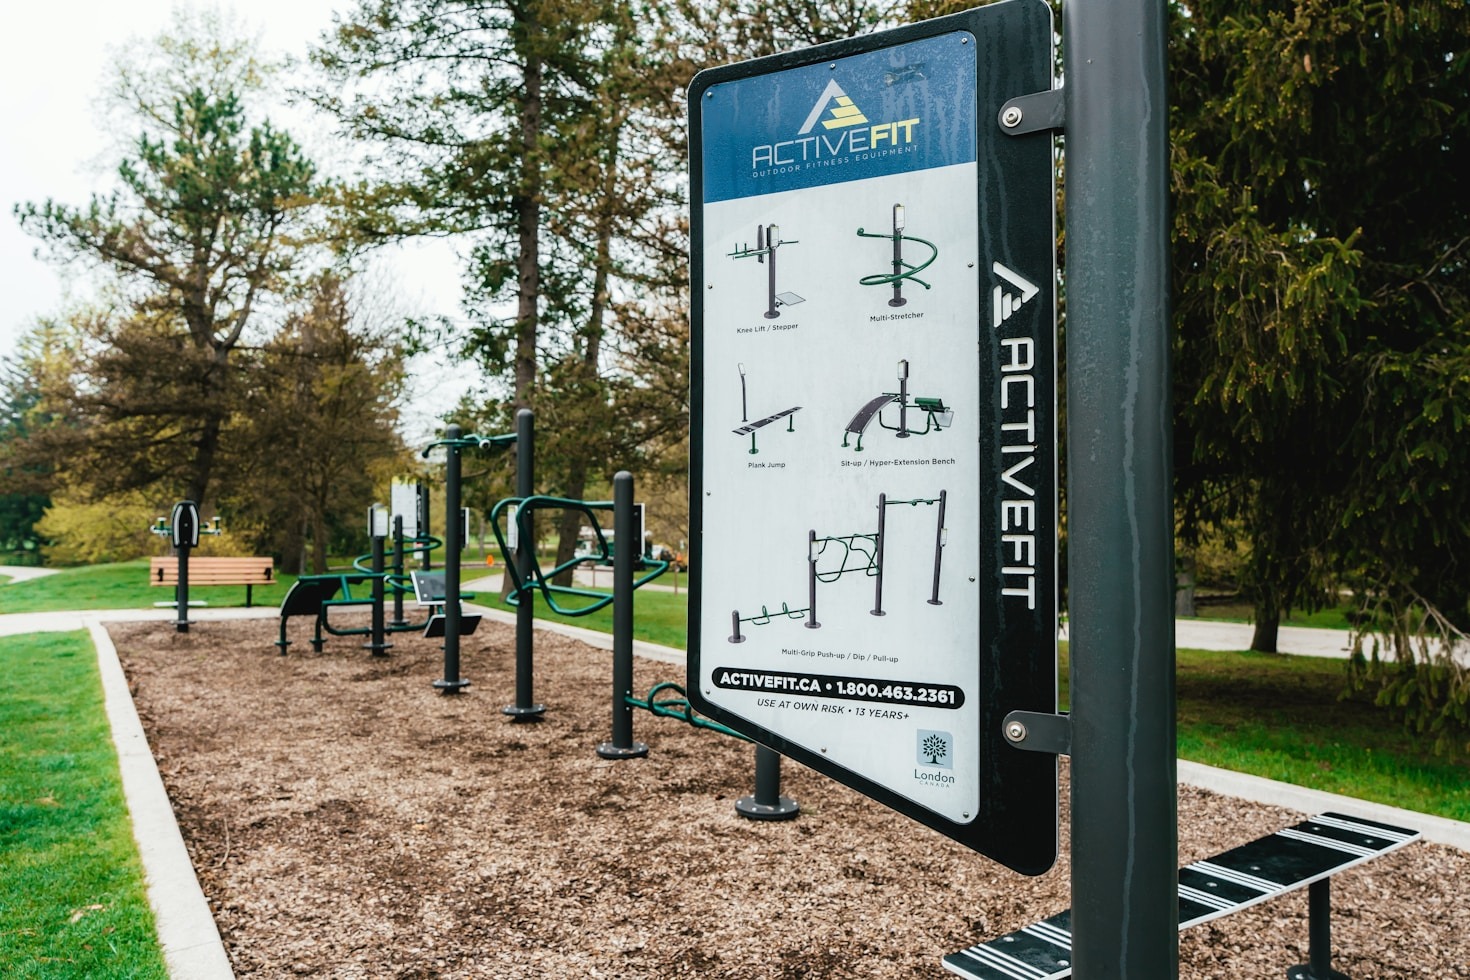
Scenario B: The “Park” Workout
Best for: Fresh air, better equipment, motivation.
This is where calisthenics shines. Outdoor parks (often called “trim trails”) give you access to the one thing your house lacks: Bars.
The Park Setup
Look for:
-
High Bar: For hanging and pull-ups.
-
Parallel Bars: For dips.
-
Low Bar: For rows and push-ups.
The “Fresh Air” Circuit
Perform 3 rounds. Rest 90 seconds between rounds.
1. The Assisted Pull-Up (or Dead Hang)
-
The Move: Jump up to the high bar. If you can’t do a pull-up yet, do a Negative: Jump your chin over the bar, and lower yourself as slowly as you possibly can (aim for 5 seconds).
-
Why: This builds the exact strength needed for a full pull-up.
2. The Parallel Bar Support
-
The Move: Jump up onto the parallel bars, arms locked out straight. Hold yourself there. Shoulders down, away from ears.
-
Why: This builds massive shoulder stability and prepares you for dips.
3. The Australian Pull-Up (Inverted Row)
-
The Move: Find a waist-high bar. Slide under it. Grab the bar, keep body straight, heels on the ground. Pull chest to bar.
-
Why: It’s the best back builder for beginners.
4. The Hanging Knee Raise
-
The Move: Hang from the high bar. Tuck your knees to your chest. Lower them slowly.
-
Why: It works your abs and your grip strength at the same time.
The Golden Rule: Quality Over Quantity
In calisthenics, form is everything. Because you aren’t using a machine to guide you, you must control the movement.
-
Don’t bounce at the bottom of a squat.
-
Don’t use momentum to kick your legs up.
-
Don’t do “half reps.”
Doing 5 perfect push-ups is infinitely better for your body than doing 20 sloppy ones.
Summary: Just Start
The beauty of calisthenics is its freedom. You don’t need to wait for “Leg Day.” You don’t need to wait for a paycheck to buy a membership. You can drop down and do five push-ups right now while reading this article.
The world is your gym. You just have to learn how to use it. You can start by using the gym finder to find an outdoor gym near you.
Leave a Reply